Something I did not check when I went to pick up the saw. The miter adjustment screws.
Oops.
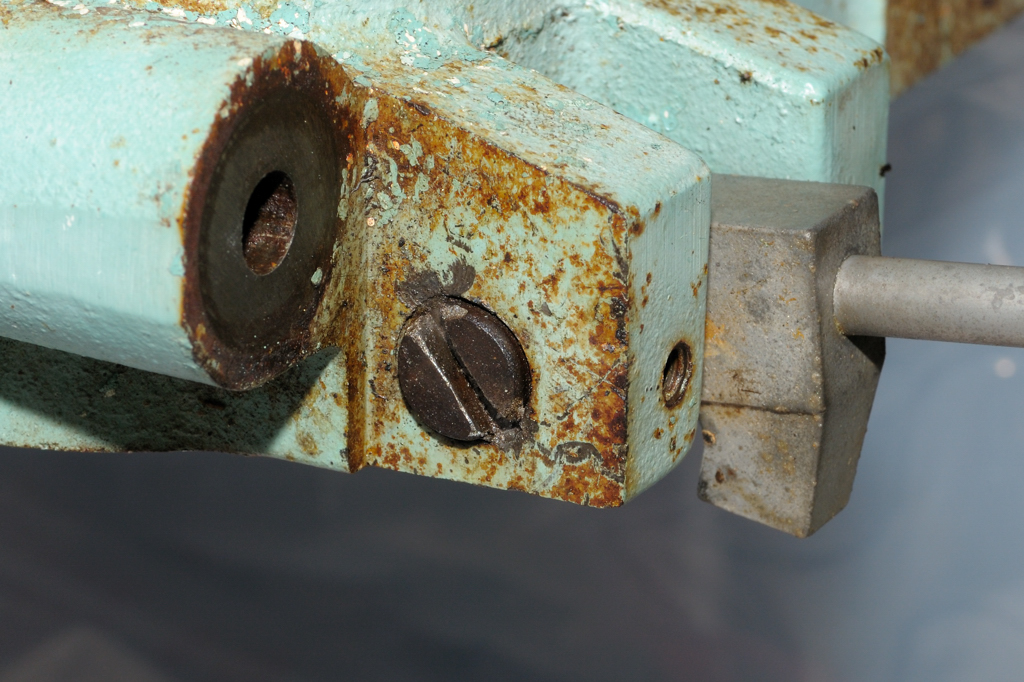
They are rusted into the cast iron. Totally rusted. Stuck. Frozen. Fused.
I tried banging on them, torching them with propane and MAPP. PB Blaster for days. Impact Driver (broke two bits).
Bummer.
So I hooked up with my main man in NY, Jude (Beta Zeta). This is an enigmatic figure who apparently collects saws from the NY area and parts them out. He is very active.
A couple of emails later I secured a 925 arm with screws in good working order for $20 bucks. Another $30 to ship it but why mess around? God willing this is the last hurdle.
You could probably drill them out.
ReplyDeletePerhaps, but the steel in the screws is harder than the cast iron, I don't have a drill press and even if I did getting it into position, especially the far side, would be nearly impossible, and once they were out I'd still need new ones which are pretty rare (same as the GWI miter screws).
ReplyDeleteI suppose a machine shop could take a crack at it but it would be way more than 50 bucks, that's for sure.
I had the same issue on my MBF rebuild. A week in the electrolysis bath and they both broke free easily. My MBF was free, but it sat in a leaky barn for 15 years before finding a good home with me. I had to use a crow bar to free the rollerhead from the arm, but the Ways were in perfect condition. Every steel or iron part on my MBF went through the electrolysis bath.
ReplyDeleteAn electrolysis bath is something I have been meaning to build for a while. That would probably have done the trick. I guess I'll hang onto this arm and hardware for a while to see if I'm right.
ReplyDeleteI'm hanging on every syllable !
ReplyDeleteHere's mine (MBF) -- bought about a month ago:
https://picasaweb.google.com/neil0502/1956_DeWalt_MBF_Radial_Arm_Saw?feat=directlink
Built my Mr. Sawdust table. Replaced all bearings. Motor's in the shop, right now, having new leads soldered onto the windings, a new circuit breaker installed, and my (10', coiled, 14/3) hooked onto the cord side bell housing.
Then ... align 'er, and ... let 'er rip (well ... crosscut, mostly !).
Got my Mr. Sawdust table in place (went w/sanded, hardwood ply -- I know: bar stock runs the wrong way. D'OH !):
https://picasaweb.google.com/neil0502/RAS_Mr_Sawdust_Table?feat=directlink
The rest I'm doing myself, and ... if I can resist the urge ... not going the cosmetic route -- at least, not quickly.
Love the tutorial. Very helpful. Very detailed. Very nicely illustrated. Thanks so much !