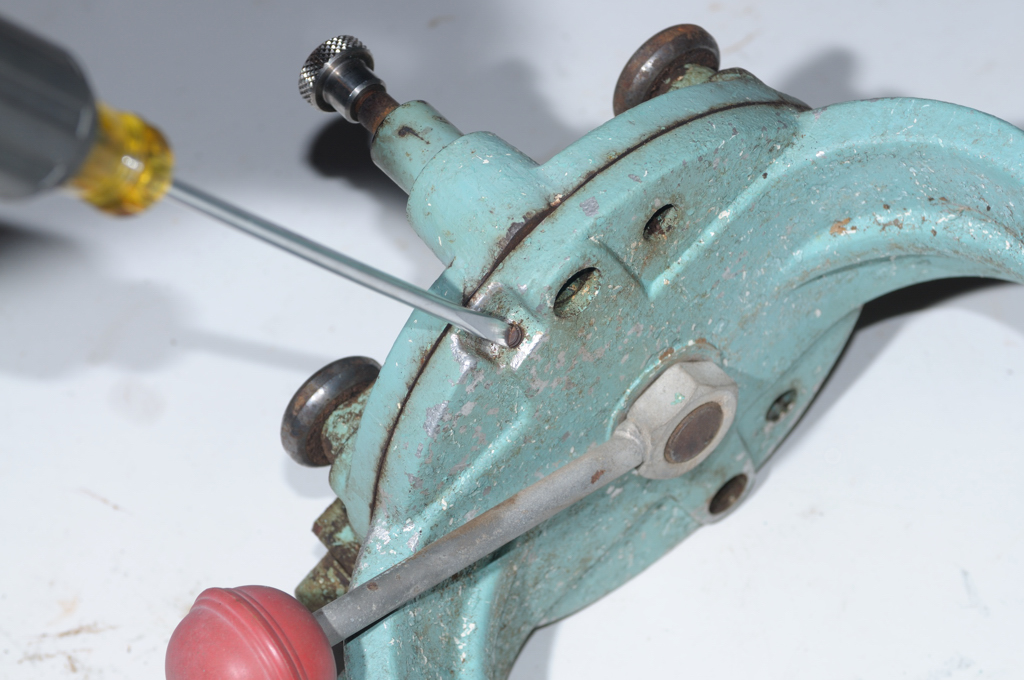
Keep in mind the screw is hardened steel and the yoke is aluminum. You DO NOT want to be in a position where you are needing to drill out the remainder of a stuck set screw. If it doesn't unscrew steadily soak that bastard in PB Blaster or Kroil for as long as possible, working the screw in and out.
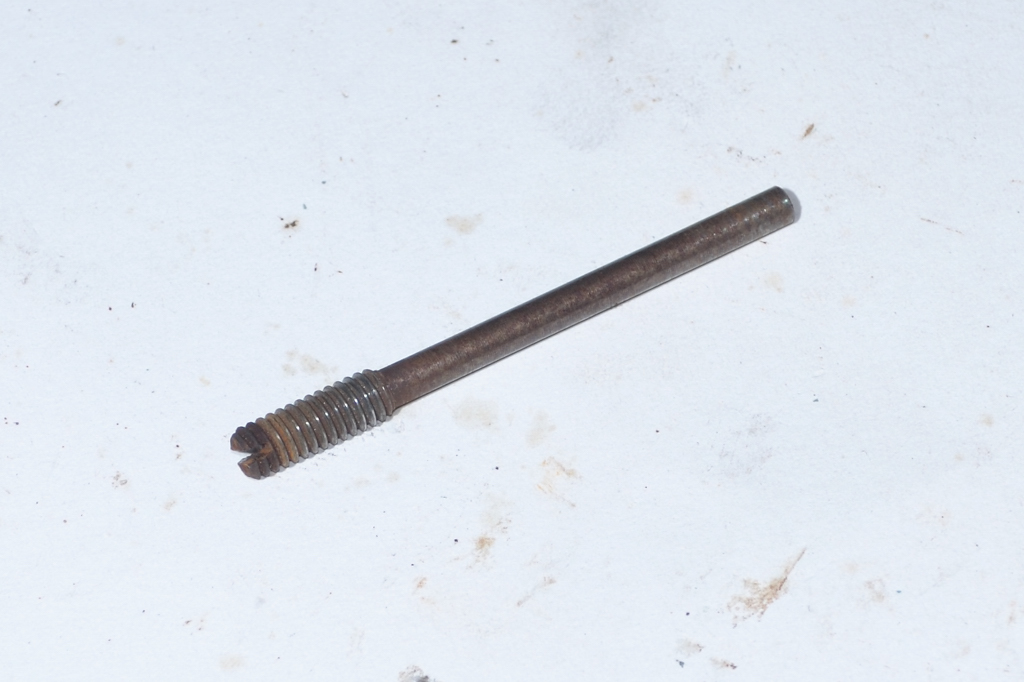
Here's what it looks like (needs to be cleaned up).
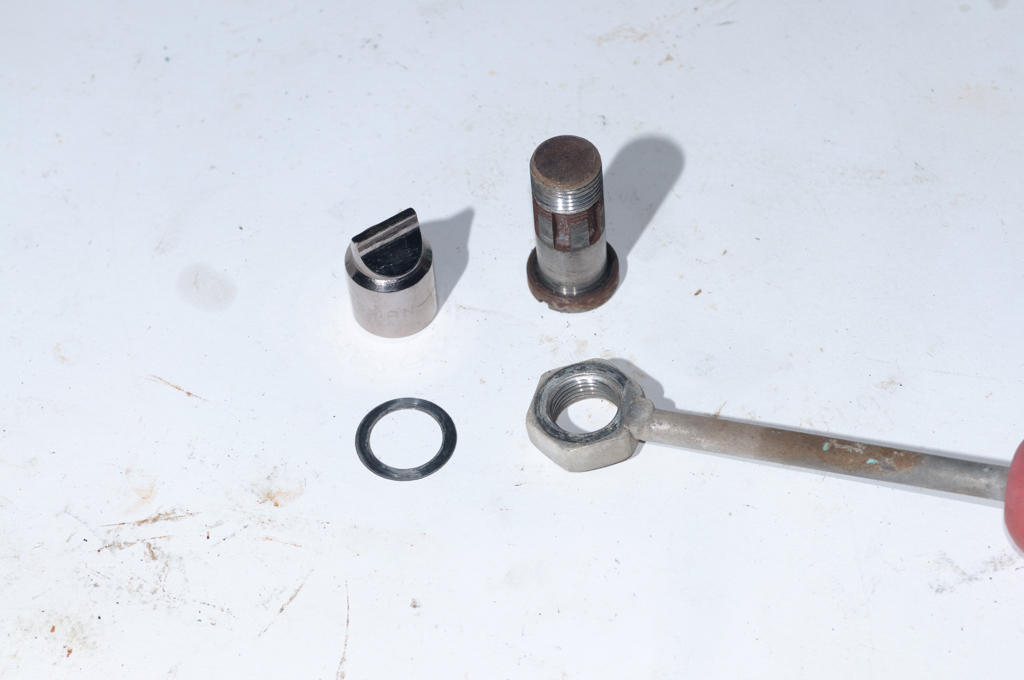
Next, we'll remove the King Bolt. A drag link socket comes in handy for this sort of thing.
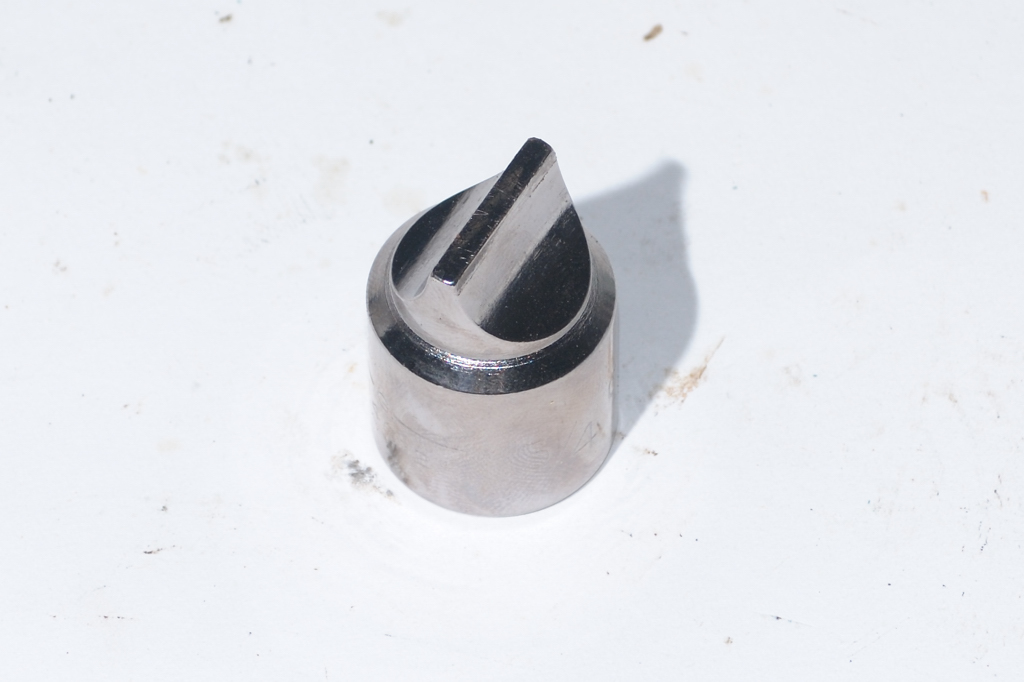
Before removing it, note its exact orientation to the set screw hole. This will make it easier to position properly when you put it back together.
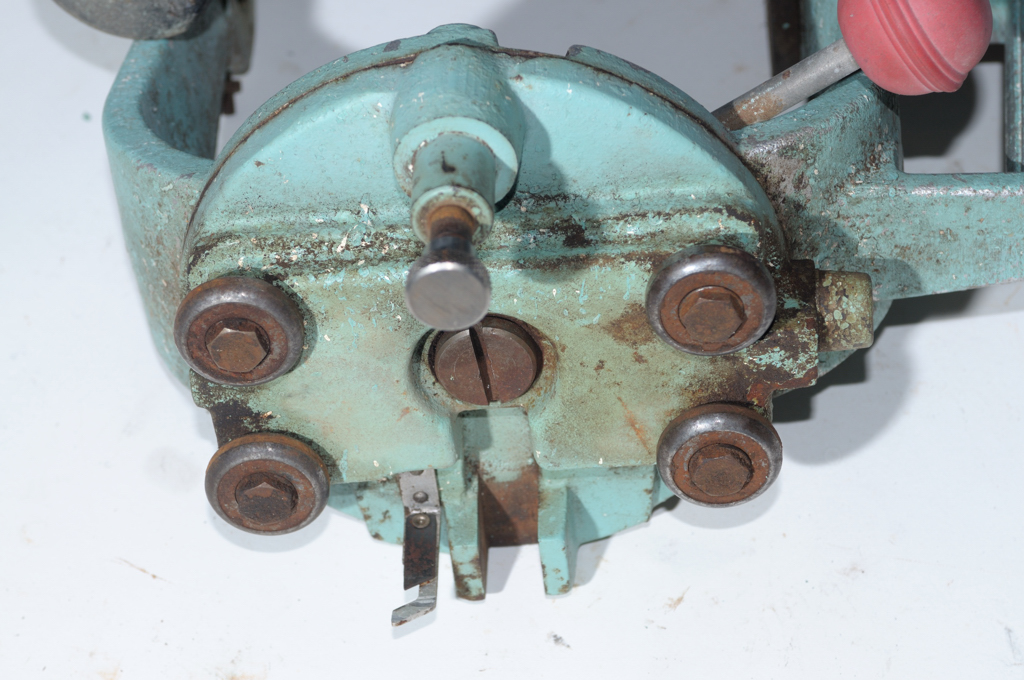
Mine came out easily, revealing a shim washer between the yoke clamp and the yoke. You can see the grooves in the king bolt that the set screw fits into.
The two parts separated. On the left hand side of the image you can see the Index Pin peeking out. Remove its handle and it should just push through. In my case it was too rusted.
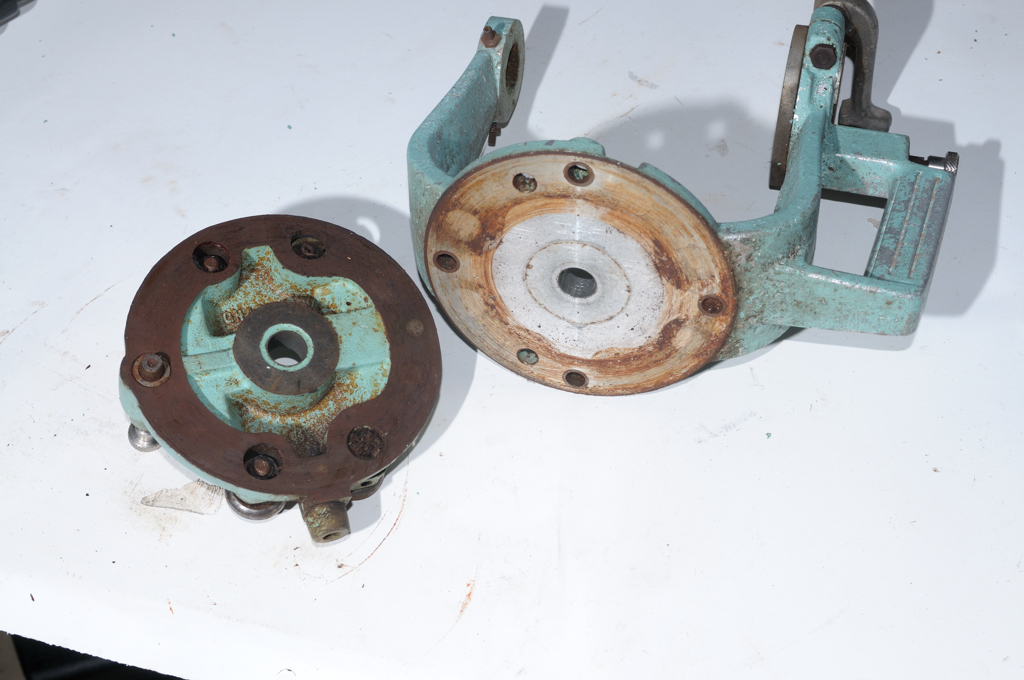
I had to visit the wire wheel with the pin still in the carriage, pull it out as far as possible and then polish off the rust near the handle. It was then able to come through. The spring is still in the carriage, apparently.

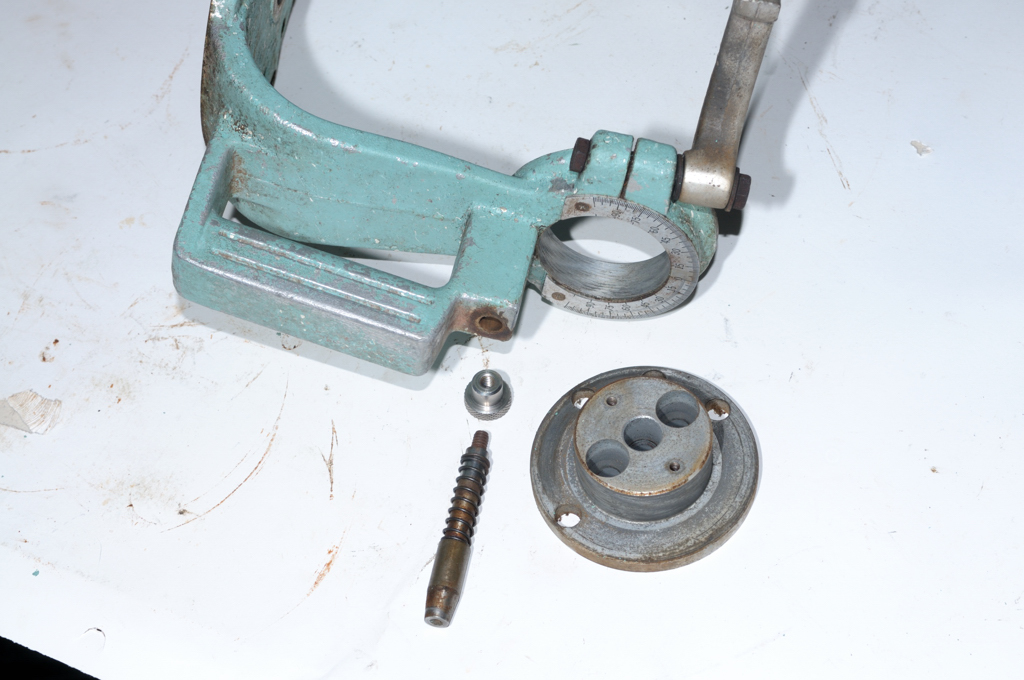
Similar deal when removing the Release Pin. Loosen the bevel clamp and then pull the hub out. Back to the wire wheel to get the rust off of the top of the Release Pin and then out it came.
I am in a position where I need to drill out the remainder of a stuck set screw and replace it...
ReplyDelete