Step 14 - I had a few minutes so I decided to try the puller again.
It worked!
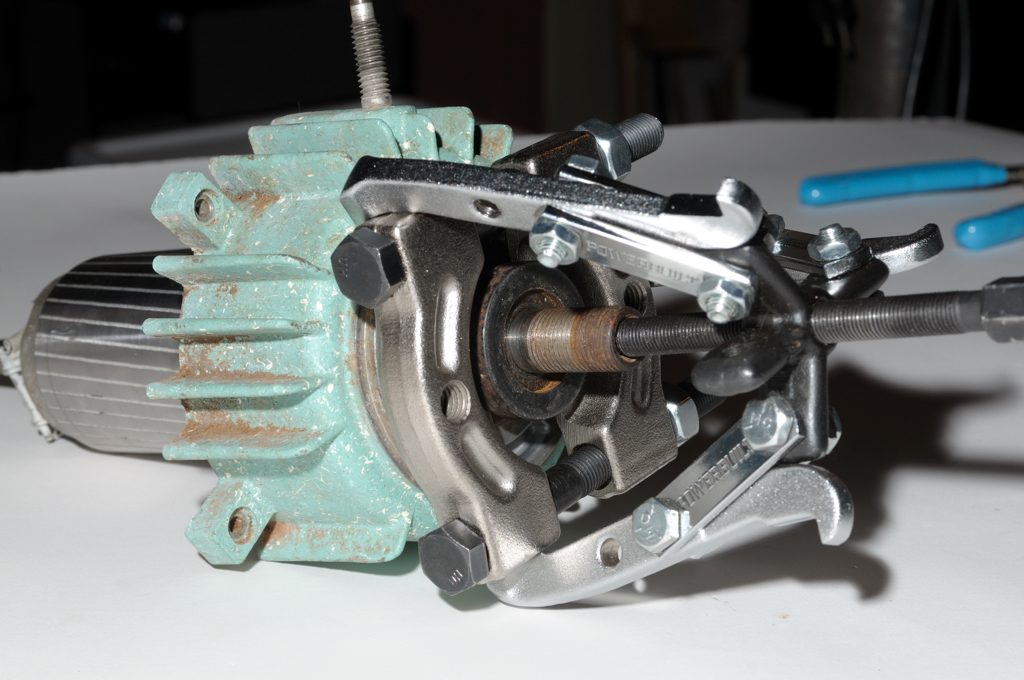
Here's a new ingredient (tool) called a bearing splitter. Quite useful.
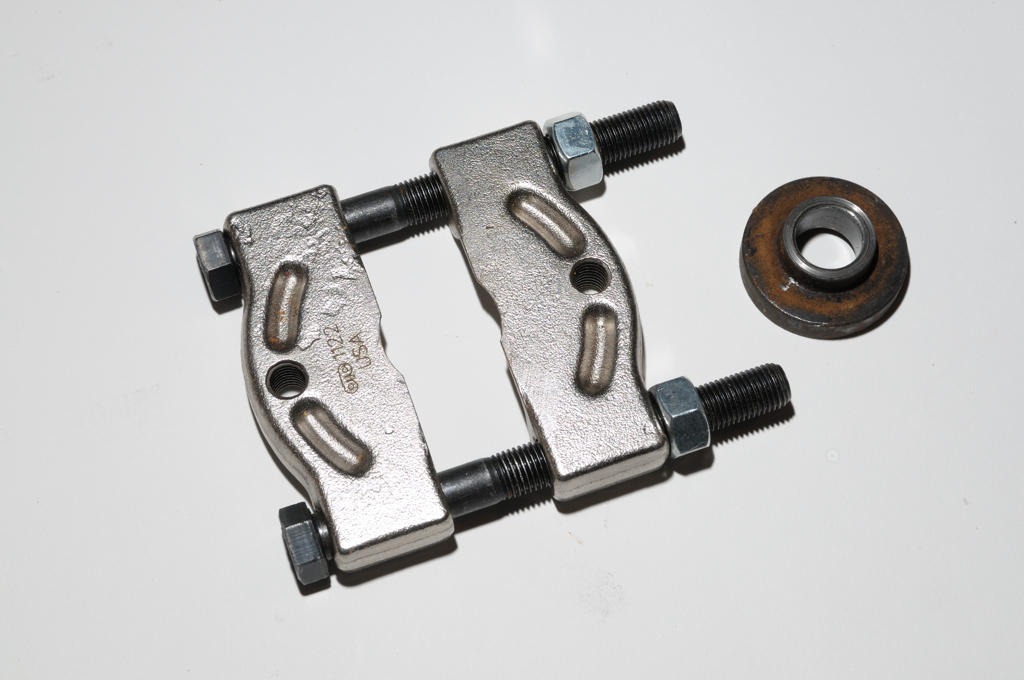
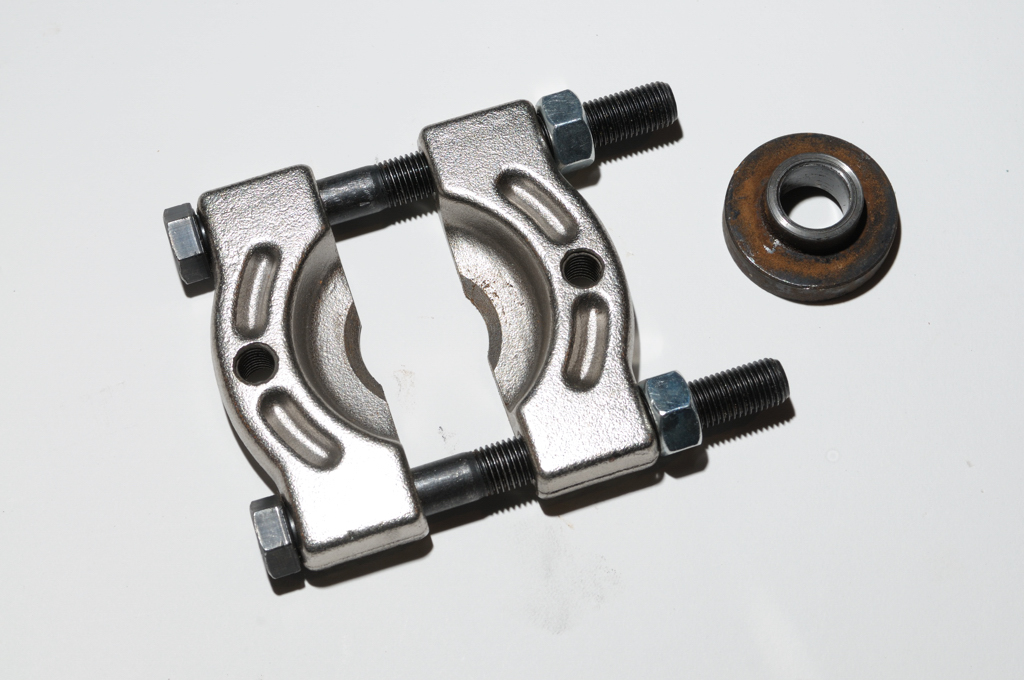
It is an adjustable collar that lets you get pressure right where you need it - on the races of the bearing or whatever else you are pulling.
The OTC 1122 Splitter - $34.99 I use is made to be used with 2 or 3 arm pullers which could do the work of my press (with a little caution) for pulling stuff. Pressing bearings back on is a different story. OTC makes good ones. No, I don't get a kickback from anyone.
I applied a little pressure and off came the arbor spacer, albeit grudgingly. This should not be the case. Apparently it was bound against the bearing and some grinding had occurred at some point. There were very sharp shards around the edge of the spacer where it had melded with the bearing.
Take a look:
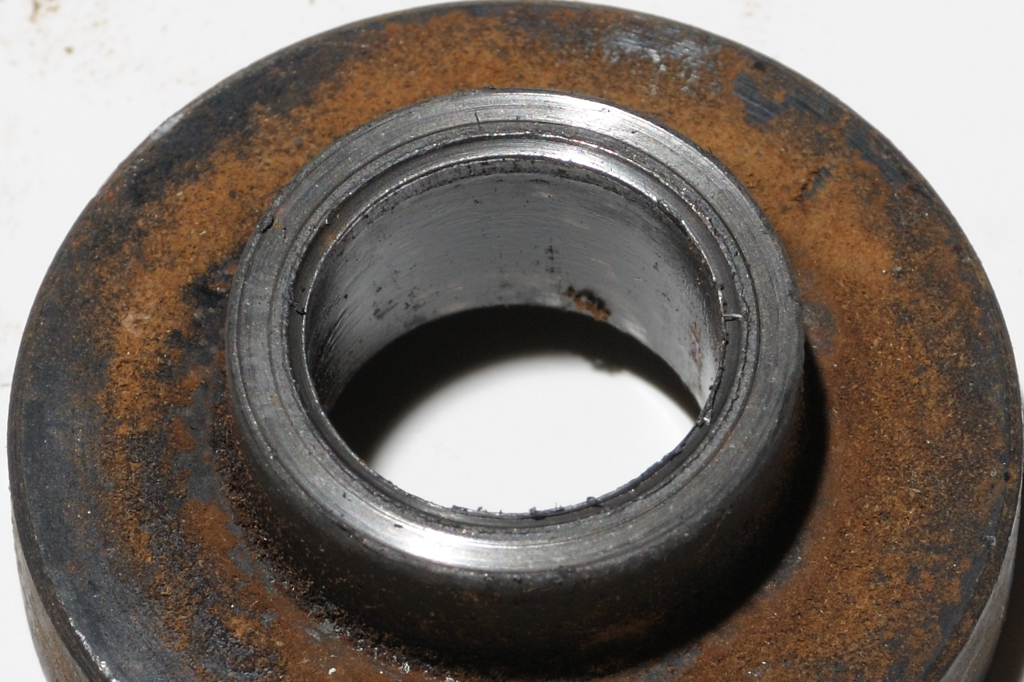
Not so good... I'll have to pay attention to why this might have happened later. That should just be a flat, happy surface. My suspicion is that the previous owner may have over-tightened the blade, smashing the spacer into the bearing, although this usually results in visible damage to the threads of the arbor.
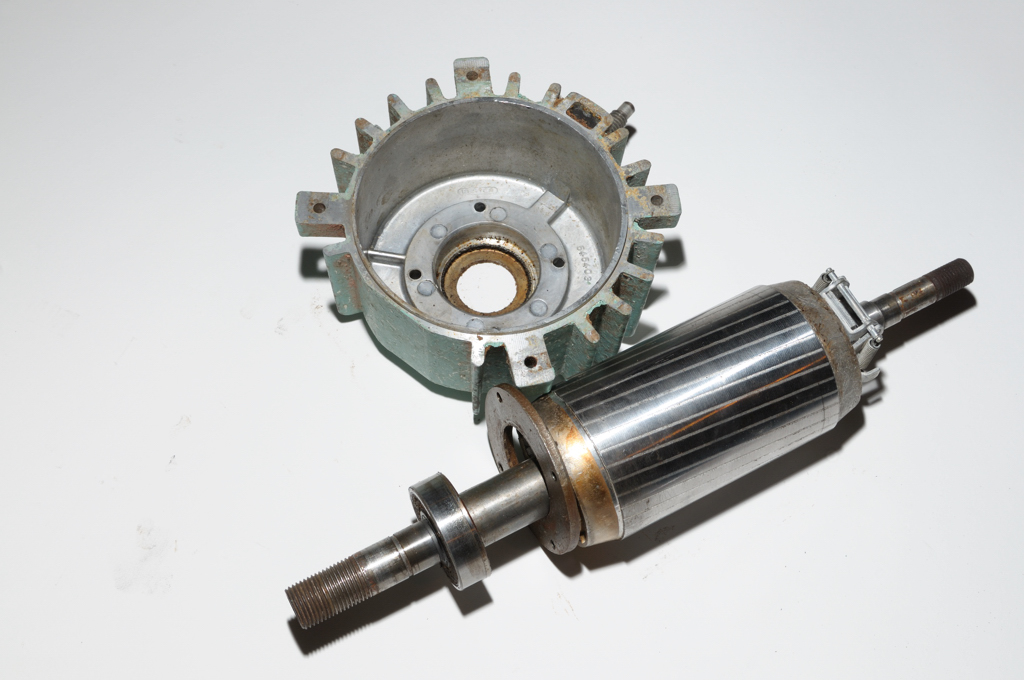
Step 15 - Separate the bell from the bearing and rotor. First reomve the screws holding the cover plate on the front of the bell. These screws hold a bearing retainer in place so once they are removed the bearing retainer will be loose in the motor. Turning it on now and you will likely destroy the windings.
Get yourself a hairdryer and heat the bell for 60 seconds. This will cause the metal to expand slightly. Then I simply used my hands to pull the housing off of the bearing.
It worked! The bell and rotor separated easily.
Here you can see the bearing retainer resting up against the rotor.
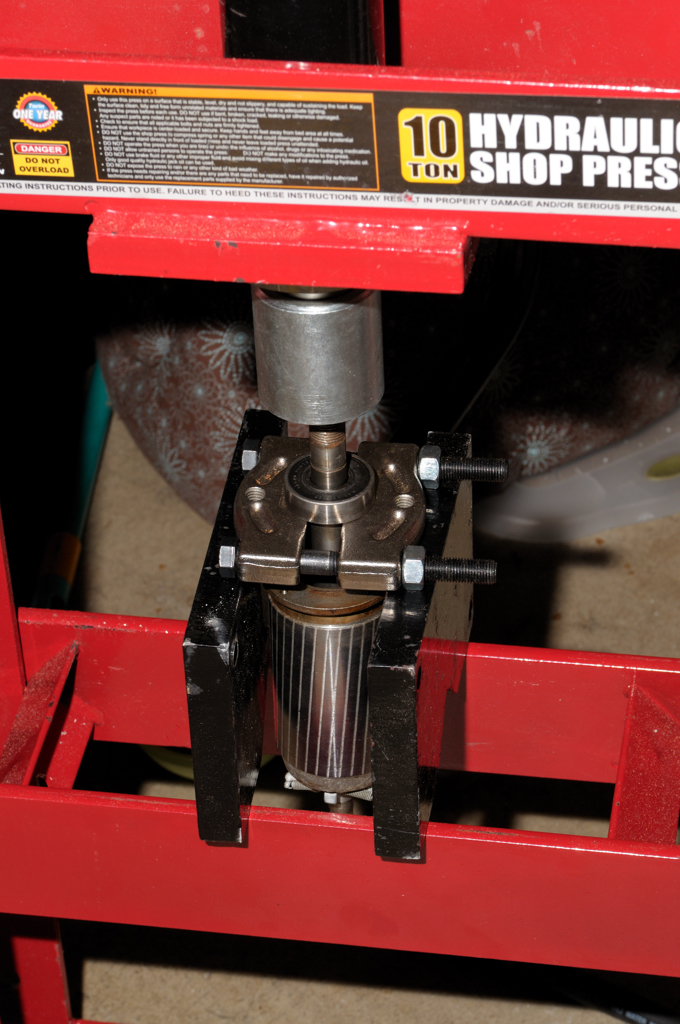
Step 16 - Next up is using a press to get the front bearing off of the shaft. First you have to remove the snap ring holding the bearing and shim washers in place (Photo Needed). Set those aside.
Once again I use the bearing splitter to get the flat end snug up against the races of the bearing (but not too snug or you will likely shave off a piece of the shaft). Then position the splitter against the two stands and lower the press onto the arbor. Give it a few pumps and off comes the bearing.
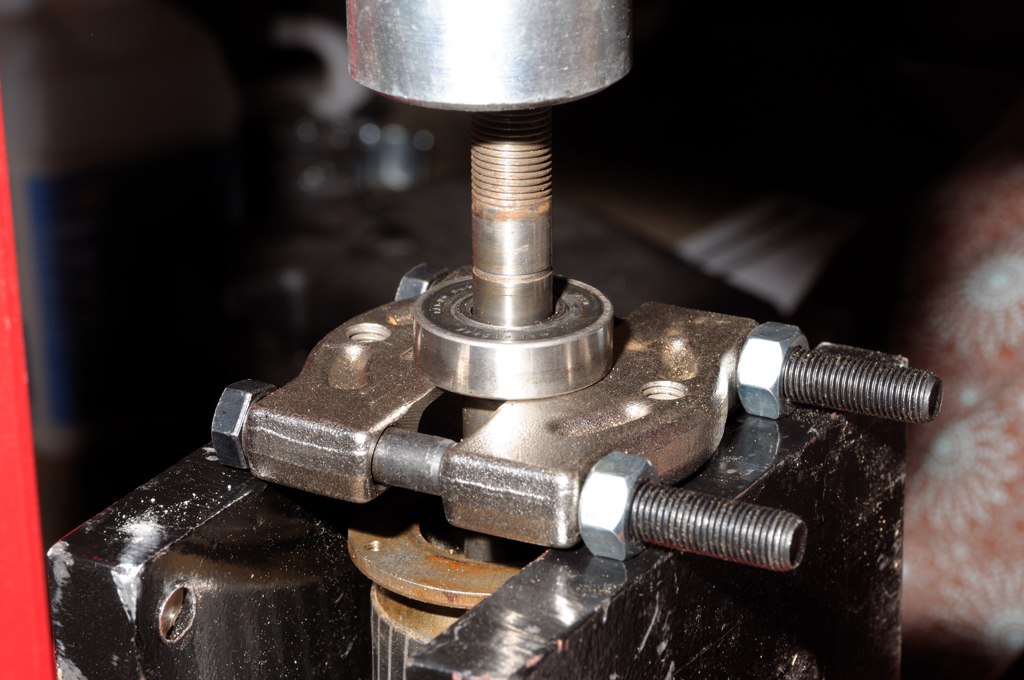
The bearing is a MRC 203SFZ. Accurate lists it as 6203-ZZ. I'll call tomorrow and order those as well as the 6201-ZZ from Day 2 and the 4 roller bearings you can see on the RAS Ways posting (They are Nachi 81004). I will post with the prices and then we'll go onto another set of topics while we wait for the bearings to arrive.
I spoke with Lynne at Accurate Bearing 1-800-323-6548 and ordered the following:
1 x 6203-LL @ $2.74 fan side bearing
1 x 6201-LL @ $3.16 arbor side bearing
4 x 81004 @ $8.00 carriage rollerhead bearings
$37.90 plus USPS and we're good to go for bearings for the 925.
The "LL" denotes a rubber seal while the "ZZ" denotes a metal seal. Originals are usually rubber and Lynne tells me that rubber is a better seal to keep out dust. Good enough for me.
The press is a Torin Big Red Hydraulic Shop Press with Gauge Dial — 10-Ton, Model# T51003 - $239.99 plus shipping from Northern Tool.

Would I buy it again? No. Why? It is too heavy for UPS to ship and not destroy in transit. It is not particularly well made. Does it do the job? Yes.
I would have preferred a large 1950's arbor press but I couldn't find one.
If you want a decent press "try to find one locally" would be my advice.
I won't go too far until I re-assemble the motor with the new bearings and confirm that we have a winner. A DeWalt RAS with an un-salvageable motor is a crime of nature but still a remote possibility. I'll cover some other tools and techniques in the next few days. At the very least we'll shine up some metal to have something pretty to look at.
Day 4
No comments:
Post a Comment