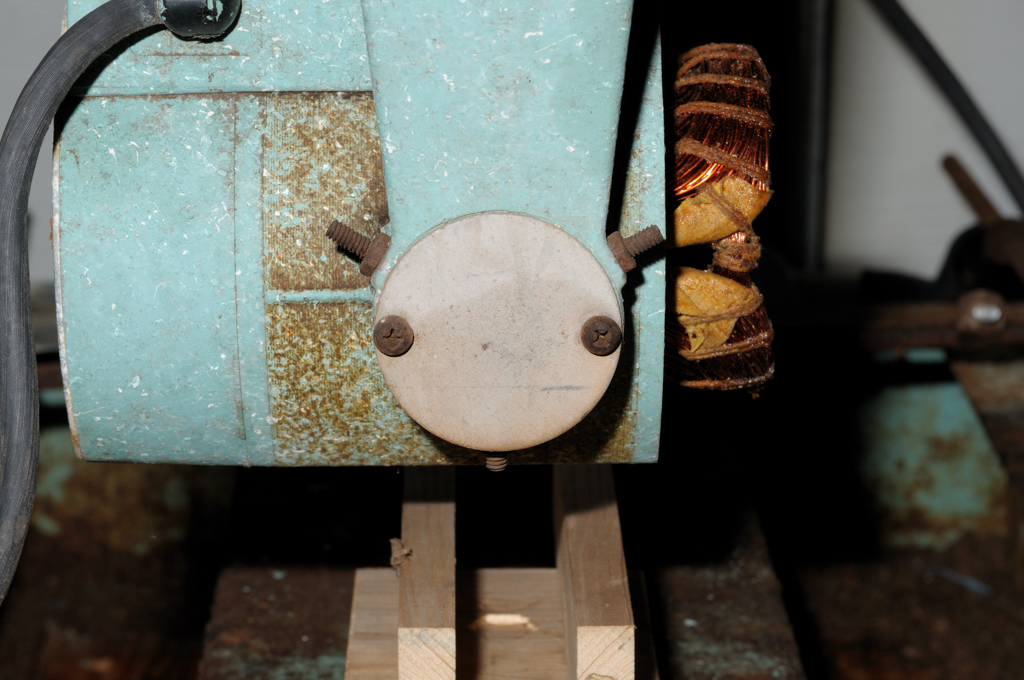
First we need to remove the "Safety Plate". You just need a decent Philips Head Screwdriver to remove the two screws (8-32 1/4").
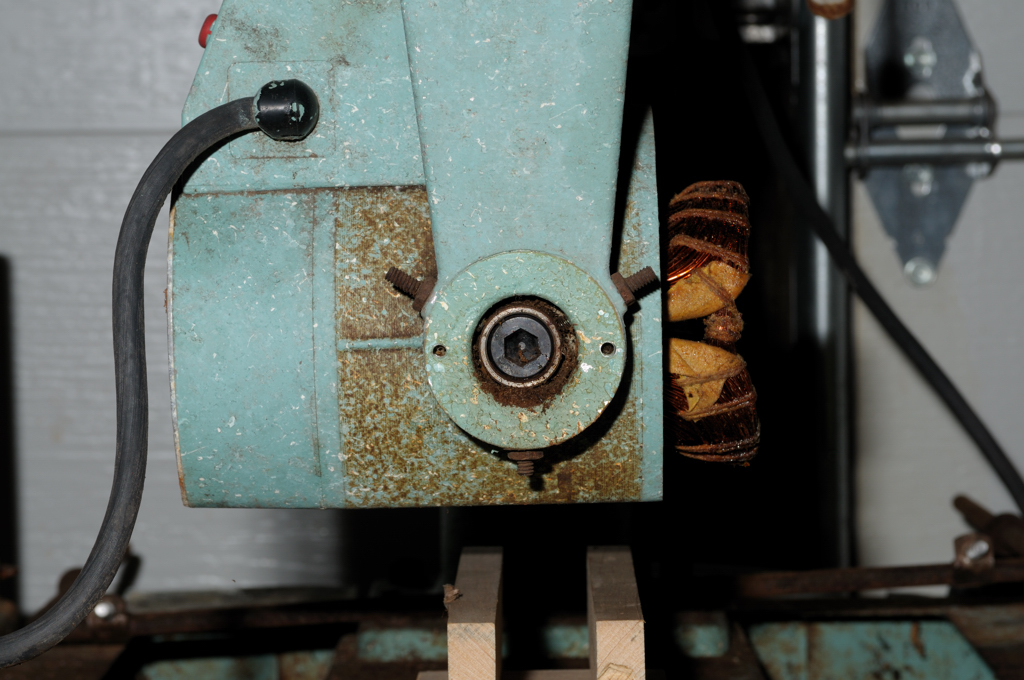
This reveals the "Trunnion Bushing" and the "Support Screw". The bushing is held in place by 3 set screws 2 x 10-24 1-1/4" cup point set screws and 1 x 10-24 1" of the same (on the bottom). They have jam nuts on them as well (3/8" width).
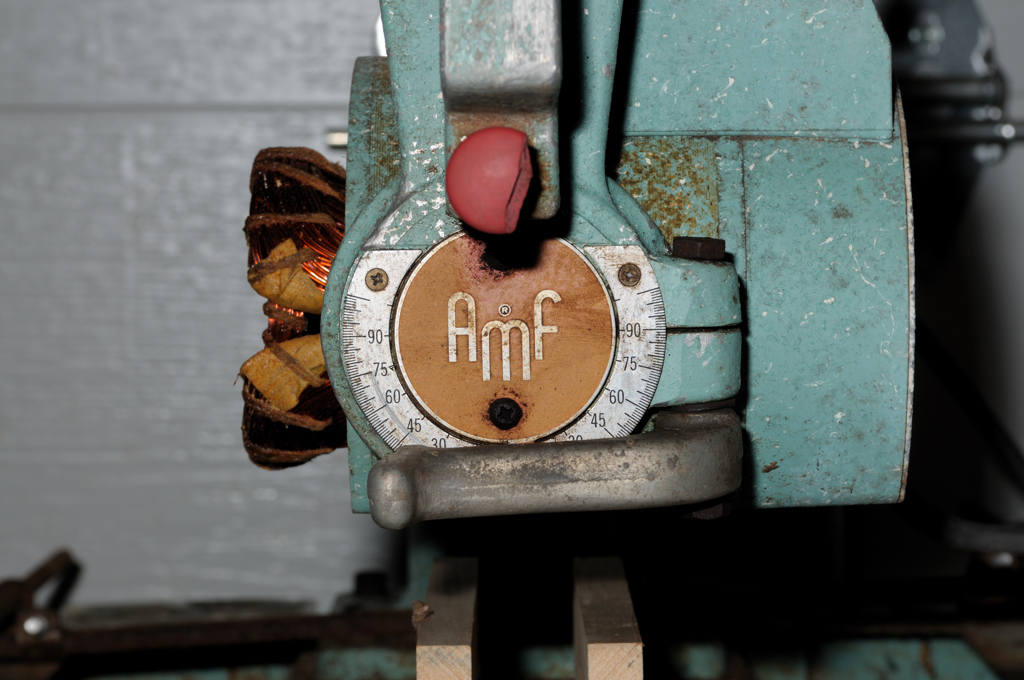
Now to the front. Same deal. Remove the screws and the "Bevel Pointer".

This reveals the 3 Socket Head Cap Screws. 2 x 5/16-18 1-1/4" and 1 x 3/8-16 1".
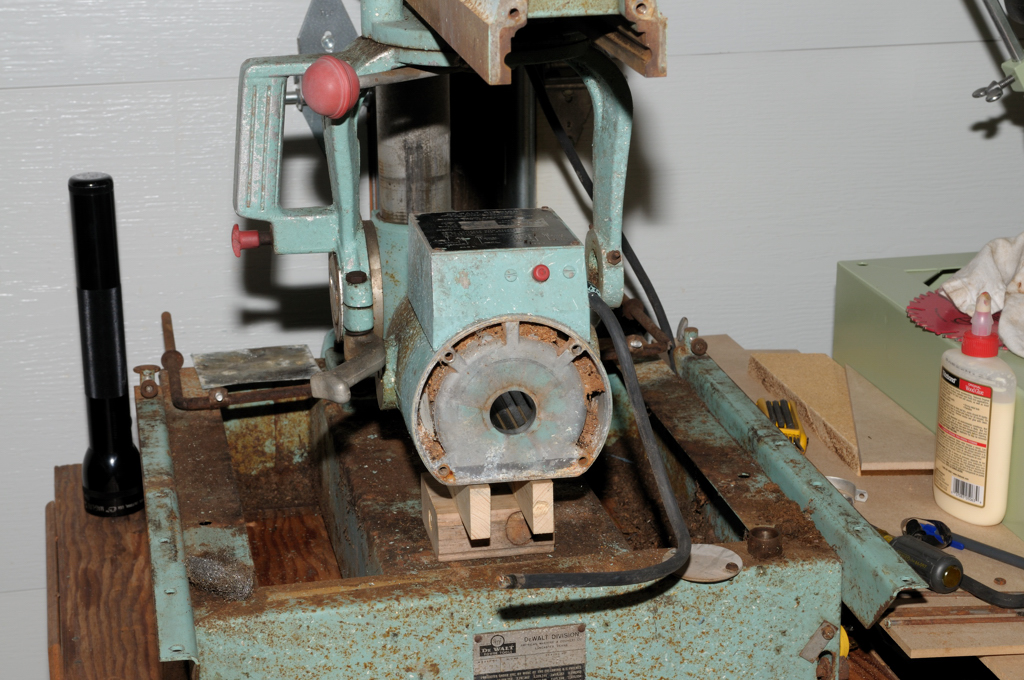
In this picture you can see that I have set up some blocks under the motor. Lower the arm and motor onto the blocks to it will have a place to rest when we free the motor from the yoke.
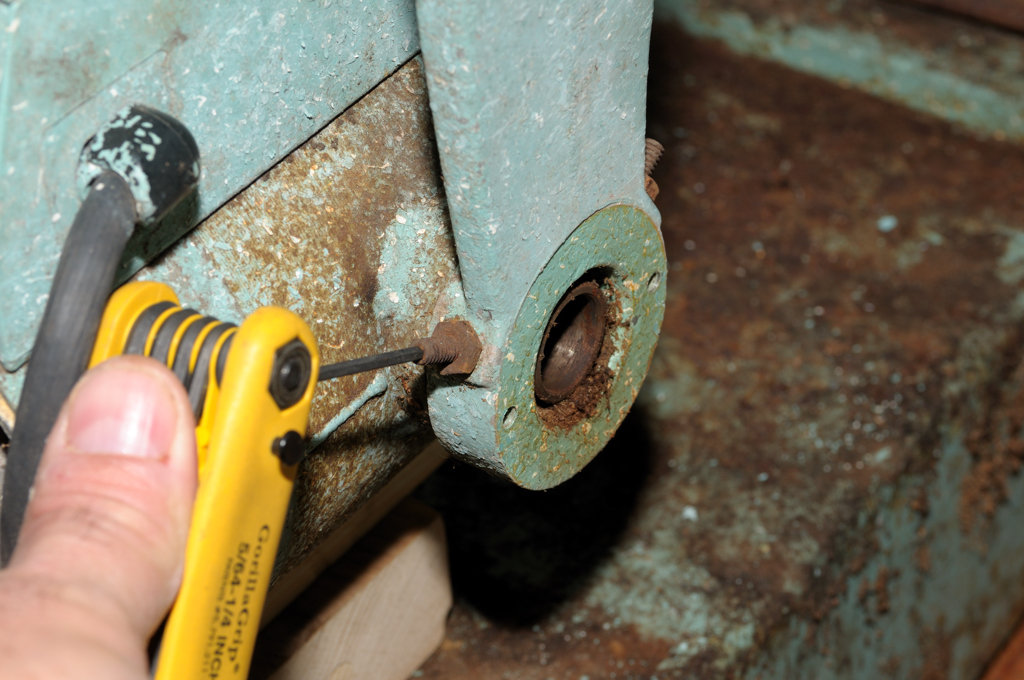
Back to the Trunnion side use a 3/8" hex wrench to remove the Support Screw. This one came out nice and smooth :-)
Use a 3/8" box wrench to loosen the jam nuts.
Use a 3/32" Allen Wrench to back out the top set screws by 1/4" or so to free the Trunnion Bushing.
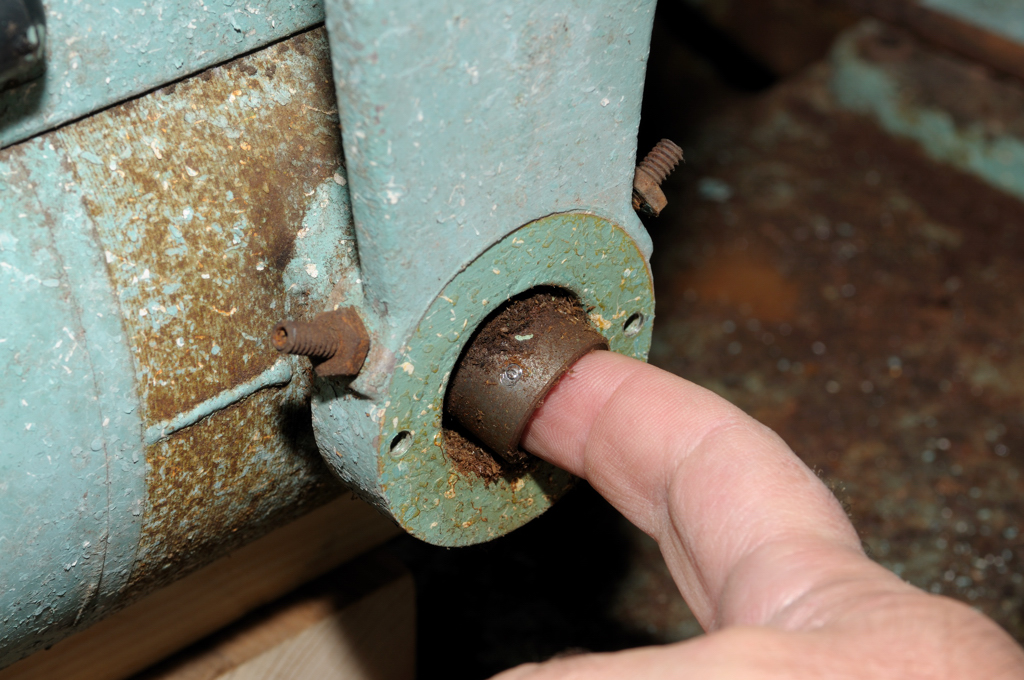
Remove the bushing.
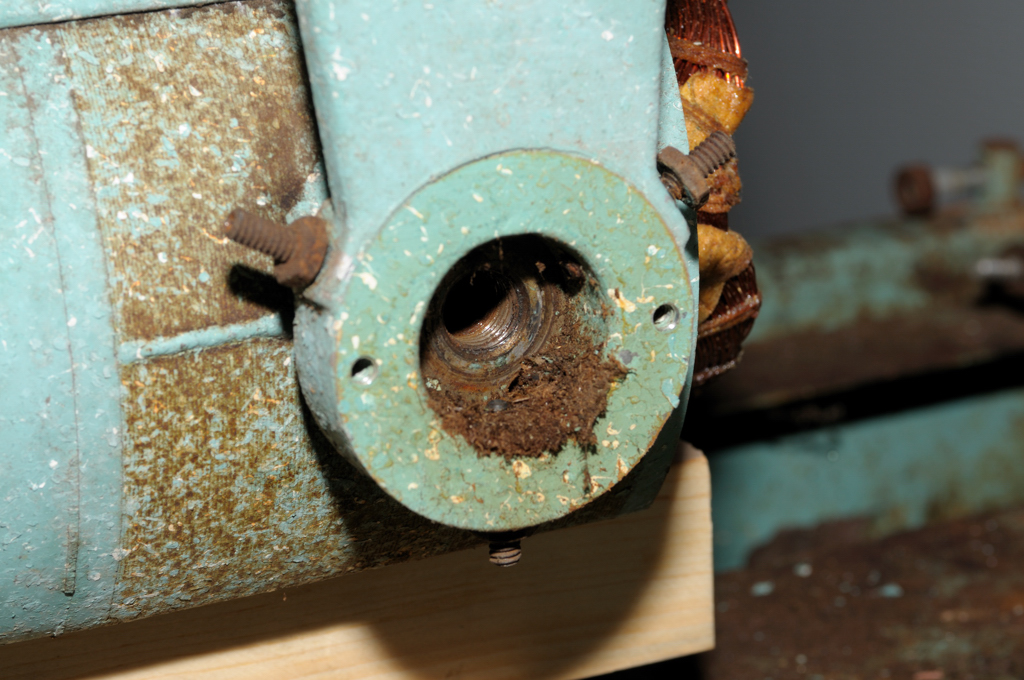
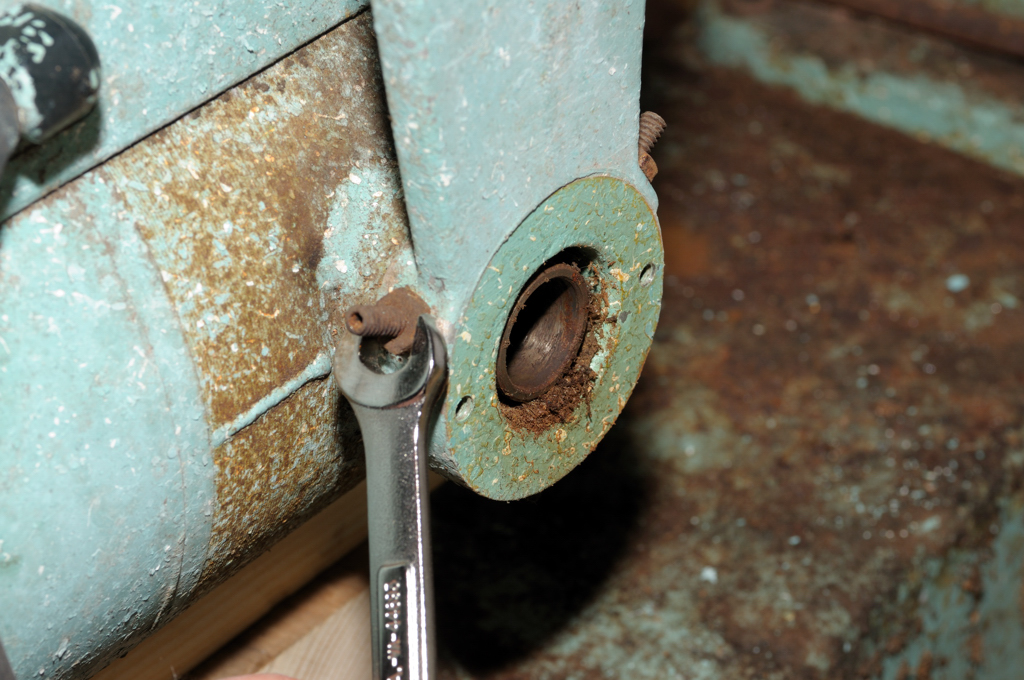
Now use Hex wrenches to remove the 5/16" and 3/8" Cap Screws and washers. Again, these came out smoothly.
Raise the arm and yoke to leave the motor resting on the blocks. Pull the yoke forward and out of the ways. Don't force it if it doesn't want to come out (more on that later).
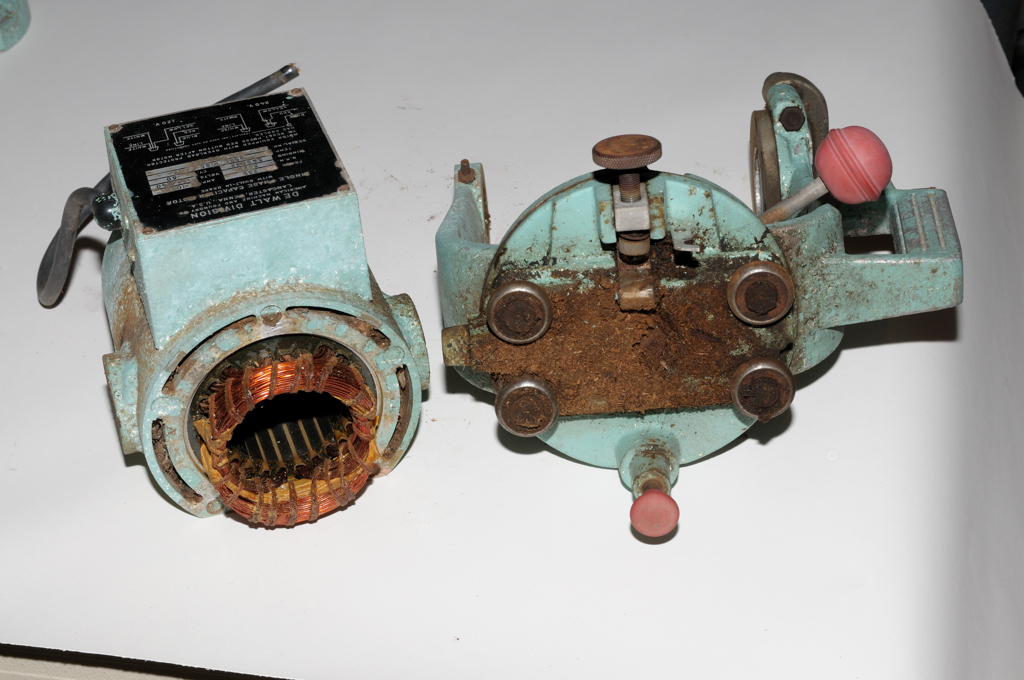
Freedom! Time to get organized and do a little cleaning.
Day 5
No comments:
Post a Comment